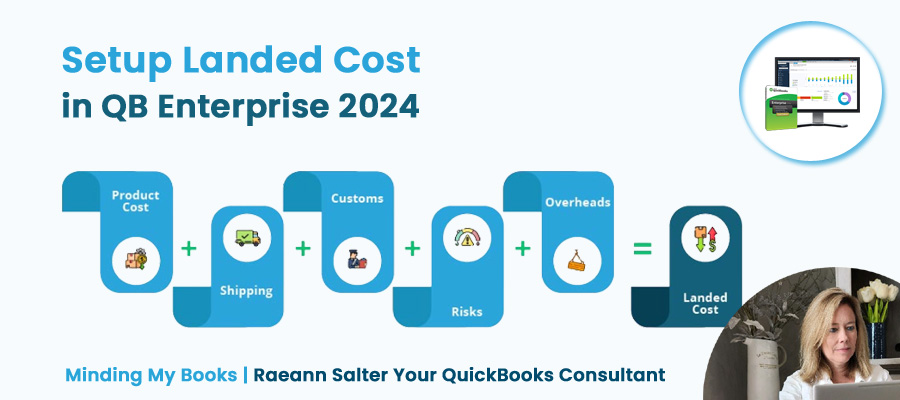
Implementing the landed cost feature in QuickBooks Desktop Enterprise Platinum edition 2024 is a transformative step for any business that deals with inventory. As a QuickBooks solutions provider with extensive experience in inventory management, I understand the nuance and necessity of integrating every financial aspect into your inventory cost. The landed cost capability ensures that additional costs like freight, duties, and purchase expenses directly impacting your inventory items are incorporated, delivering a clearer financial picture.
Key Takeaways
- Incorporating additional expenses into your inventory costs for accurate financial analysis is crucial.
- Updating QuickBooks and proper setup of advanced inventory settings are the preliminary steps for implementing landed cost.
- The creation and mapping of "Other Charge" accounts are necessary to manage and allocate landed costs effectively.
Setting Up Landed Cost in QuickBooks
Before proceeding with setting up landed cost in QuickBooks Desktop Enterprise Platinum Edition, ensure the software is updated to the latest version.
Update QuickBooks Enterprise:
- Go to Help > Update QuickBooks Desktop in the menu bar.
Enable Advanced Inventory:
- Navigate to Edit > Preferences.
- Go to Items & Inventory and select the Company Preferences tab.
- Access Advanced Inventory Settings and click the Landed Cost tab.
- Here, you’ll find the option to Set Up Landed Cost Account.
Create a Landed Cost Account:
- Opt to create a new account named Landed Cost to Allocate.
- Choose the account type as Other Current Assets or Cost of Goods Sold.
- It's advisable to go with Other Current Assets to ensure costs stay on the balance sheet until allocation.
- For the account description, input Assigned vendor bills for freight, custom duties, and other charges.
- Remember, the account should zero out after allocation is complete.
Setting Up Other Charge Accounts:
- From the Home screen, access Item List.
- Select Item > New and choose Other Charge for the account type.
- Create the following accounts:
- Shipping and Handling:
- Check This item is used in assemblies or is a reimbursable charge.
- Input Shipping and Handling in both purchase and sales fields.
- Set the expense account to Landed Cost to Allocate and link a miscellaneous sales account.
- Custom Duty:
- Repeat the above steps, substituting the item name and descriptions with Custom Duty.
-
- Insurance:
- Follow the process above, using Insurance on Shipment as the name and description.
-
- For each item, ensure that Landed Cost to Allocate is set as the expense account.
Map Items to Landed Cost Account:
- Return to Advanced Inventory Settings under the Company Preferences tab.
- In the Landed Cost tab, the created items should map automatically.
- Click Manage Landed Cost Account for detailed review.
Process Vendor Bills for Landed Costs:
- From the Enter Bills icon, create a transaction for the vendor providing the additional service, for example, Duties R Us.
- Fill in the relevant details and enter the total amount in the Amount Due field.
- Under the Items tab, select the appropriate other charge item, such as Custom Duty.
- Input the necessary costs, customer/job, or class as required.
- Post the bill to save your inputs.
Allocate Landed Cost to Products:
- In the Enter Bills window, locate the bill for allocation using the Find button.
- Select Calculate Landed Cost and choose bills to allocate by sorting vendor names or dates.
- Checkmark the correct bill and determine the allocation amount.
- Decide the allocation method and proceed to allocate the costs to your inventory items.
To get more information watch our Landed Cost Tutorial video from YouTube.
